Using pathfinder tools to make the following logos.
The interlock effect was acheived by:
1. Pathfinder > divide
to create individual pieces at the intersections.
2. These were then coloured appropriately to give the appearance of interlocking.
3. The next step use Pathfiner > Unite to rejoin the segments to form as complete a circle as possible.
3D Interlocking Rings
A slight variation on the above.
Google Chrome Style Logo
The next logo reminds me of the Google Chrome with a hint of a Mobius Strip. Maybe its the colours. I found it surprising that such a pleasing effect was so simple to produce.
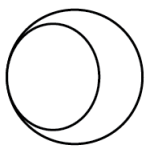
 Starting with a circle, then creating a smaller misshaped circle inside.
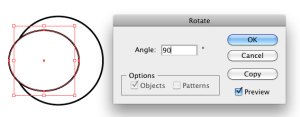
The next step is apple Object > Transform > Rotate at an angle of 90° and click copy until we have four circles filling the outer circle.

 Following this the circles are filled with colour producing something like the image toe the right. The the circles could have been better positioned to make sure there is no white space left in the inner circle. the stroke are not needed so the next step is to remove them.
Making sure all circles are selected apply Pathfinder > Divide, colour the individual segments appropriately and rejoin where necessary using Pathfinder > Unite. the result should be like the following.


